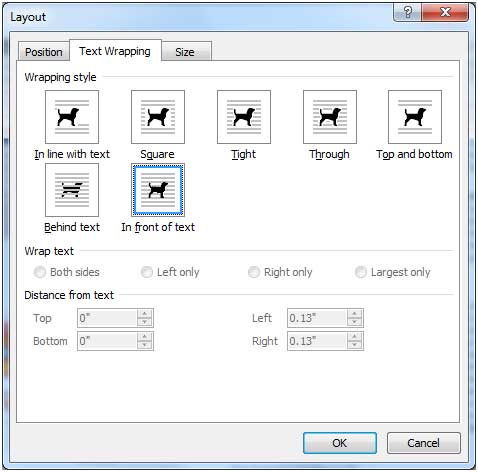
In practice, inserting an image or any other material in your document is quite easy especially if the material already exists in your local storage device. It is just a matter of opening up the image file through the Microsoft Word dialog box or wizard. Sometimes, if the image you would like to insert is on a web page currently displayed on your screen, it could be copied and pasted.The real challenge is where to put the image you inserted or where to move it.In this part of the lesson,we will study the different characteristics of text wrapping options that you can use with the image you integrated in your document.
1.) In Line with Text
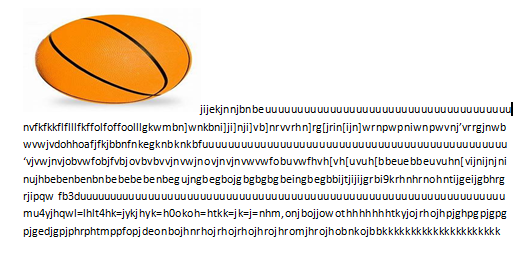
This is the default setting for images that are inserted or integrated in your document. It treats your image like a text font with the bottom side totally aligned with the text line. This setting is usually used when you need to place your image at the beginning of a paragraph. When placed between texts in a paragraph or sentence, it distorts the overall appearance and arrangement of the texts in the paragraph because it will take up the space it needs vertically pushing whole lines of texts upward a in the example below.
2.)Square
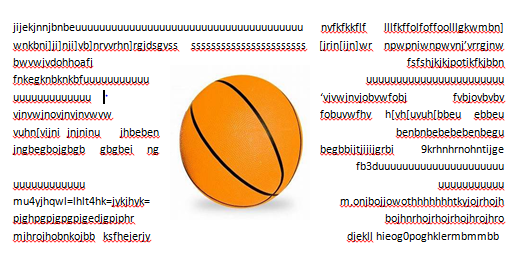
This setting allows the image you inserted to be placed anywhere within the paragraph with the text going around the image in a square pattern like a frame.
3.)Tight
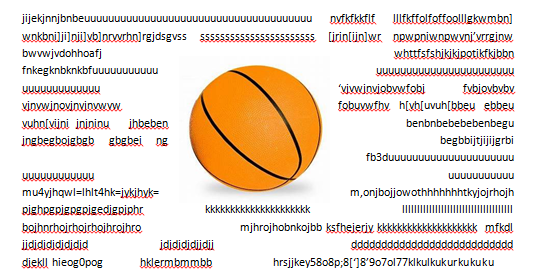
This is almost the same as the Square setting, but here the text “hugs” or conforms to the general shape of the image. This allows you to get a more creative effect on your document.This setting can mostly be achieved if you are using an image that supports transparency like a.GIF or .PNG file.
4.) Through
This setting allows the text on your document to flow even tighter, taking the contours and shape of the image.Again, this can be best use with a .GIF or .PNG type of image.
5.) Top and bottom
This setting pushes the texts away vertically to the top and/or the bottom of the image so that the image occupies a whole text line on its own as in the example.
6.)Behind Text
